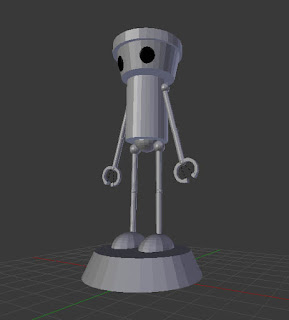
To get this result we start by adding a reference image to the front orthogonal view with these steps:
-Click the plus "+" sign at the top right side of the screen, next to the right panel
-A new panel will show up, scroll down that panel until you find "Background Images" and expand it with the small triangle next to it.
-Click on "add image" them "open", choose the image chibifront.jpg (the second image in the prev post)
- Where it says "axis" choose "front"
- Now to get a front view from the modeling space press 1 in the numpad, if you don't see the image, probably means you are in prespective mode, press 5 in the numpad to toggle to orthogonal mode and you should see this.
- Some useful short-cuts for cameras are 1 = front 3=right 7=top and 5=toggle perspective/orthogonal
-The idea now is to start adding cylinders and spheres (from the create tab at the left side) and using scale/rotate/move to model them into shapes that we can use for the reference, for example adding the robot's hat:
- There are some items that cannot be done by using scale/rotate/move, for example the angled sides of the face, for this we need to edit the cylinder we will use for its face.
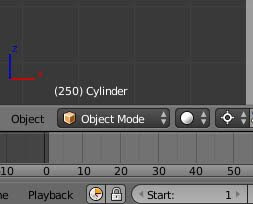
- To edit an object's geometry we go into what is called "edit mode", currently we are in "object mode", look at the bottom left-middle area there is a drop list that says "object mode".
- First create a cylinder for the face and scale it to fit the reference.
- With the new face cylinder selected change "object mode" to "edit mode"
- Now you can change the elements of the cylinder, these include vertices, segments and faces.
-We will reduce the size of the bottom face of the cylinder to create the angled cylinder, first select the "edit face" button.
- Move the camera until you get a bottom view (holding down the wheel button) and the select the lower face (right button click).
- Go back to front view (1) then press "scale" from the tools panel (left side), move the mouse to scale the bottom face until it matches the reference.
- Now change from "edit mode" to "object mode" so you can keep adding/creating/modifiying other objects.
- Using this basic techniques we can en up with a robot with no feet and no claws.
- Next class we will:
- Use "boolean modifiers" to create the feet and claws.
- Use face extrude to add details and create the the robot's plug (refer to previous post)
- User hierarchy to create parent child relations so we can easily pose our model


No comments:
Post a Comment